Here’s how to get started playing Mojang’s bestselling game on Meta’s bestselling VR headset.
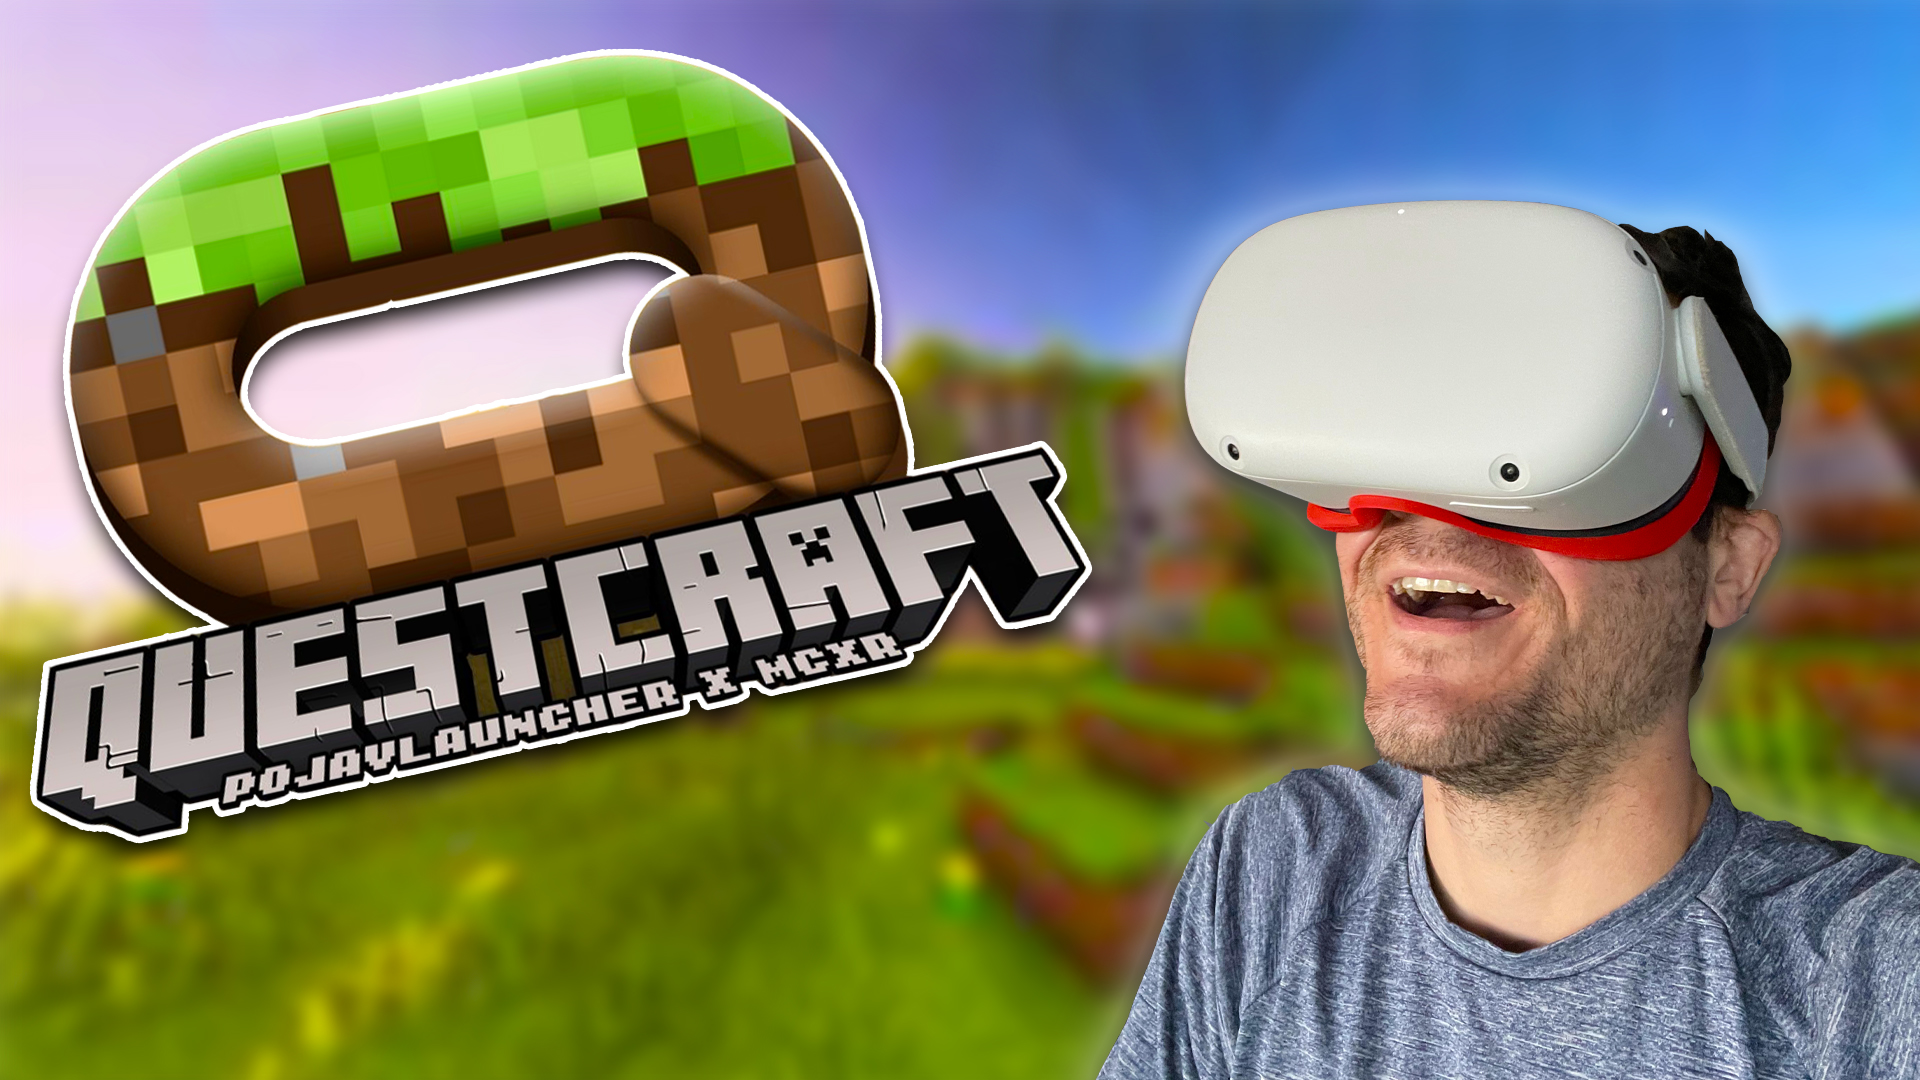
Minecraft is now available to play on the Meta Quest and Meta Quest 2 without the need of a PC thanks to an unofficial port developed by a team of independent developers. This is a full port of Minecraft 1.18, allowing you access to your existing worlds as well as select fabric mods. There’s also support for motion controls as well as cross-platform multiplayer.
Setup can be a little tricky, so we put together a quick tutorial to help you get started:
- Download and install the APK file using the free program SideQuest and download the zip file via the PC VR dropdown menu. Make sure your account is set to developer mode before you get started. This is a totally free process. Simply sign up for a developer account via the official Oculus website and activate developer mode in the settings of your Oculus app.
- Once the file has finished installing, unzip the zip file you downloaded earlier and drag the “Android” folder into your Quests internal storage to merge and replace the existing files. Once the files have finished transferring, put your headset on and navigate to your library.
- Select the Unkown Sources folder in the drop down menu located in the upper right corner and select “PojavLauncher.” You’ll then be asked to sign into your Minecraft account.
- Once logged in, click the settings option in the bottom left corner and select the “Renderer” option located at the top of the page. Select the third option provided on the list and head back to the main menu.
- Last but not least, click on the game version option located at the bottom of the menu to the left of the play button and scroll all the way down to select “fabric-loader-0.12.12.1.18.1.” You can now hit the play button and boot up the game.
This may take a few seconds, so don’t panic if you don’t see gameplay right away. For the optimal experience, the developers recommend adjusting the render distance located in the video settings menu. Quest 2 players are recommended to lower their render distance to 5-8 chunks while original Quest players are recommended to lower theirs to 4-5. If your game keeps crashing every time you load a world, try lowering your render distance to 3 chunks; that seems to fix most issues.
If you’d like to play online with friends, you’ll need to jump through a few additional hoops.
- Head to the .minecraft folder on your PC. You can find this by clicking on the instillations option in the PC launcher and selecting the folder icon located on the right.
- Copy the server.dat file and open your Quests internal storage. From here, select Android→data→scroll down to net.kdt.pojavlaunch.debug→files→and finally .minecraft. Paste the file here and you’re all set.
As previously mentioned this is an unofficial port created by a team of independent developers without the support of Mojang, so expect some minor issues as you play. I myself have experienced several game crashes. At the end of the day, however, this is a phenomenal port that deserves your undivided attention.
Feature Image Credit: VRScout
The post How To Play Minecraft In VR On The Quest Without A PC appeared first on VRScout.


